Installing UNIFYConnect Sync Module
Prerequisites
- UNIFYConnect installation. Refer to the installation instructions.
Installation Instructions
Download required files: Download the UNIFYConnect Sync Module service and web ZIP files.
Install the service component: Extract the contents of the
Servicesdirectory from the Plus service ZIP file into theServicesdirectory of the UNIFYConnect installation. TheServices\PlugIns\plussubdirectory will then appear in the existing installation.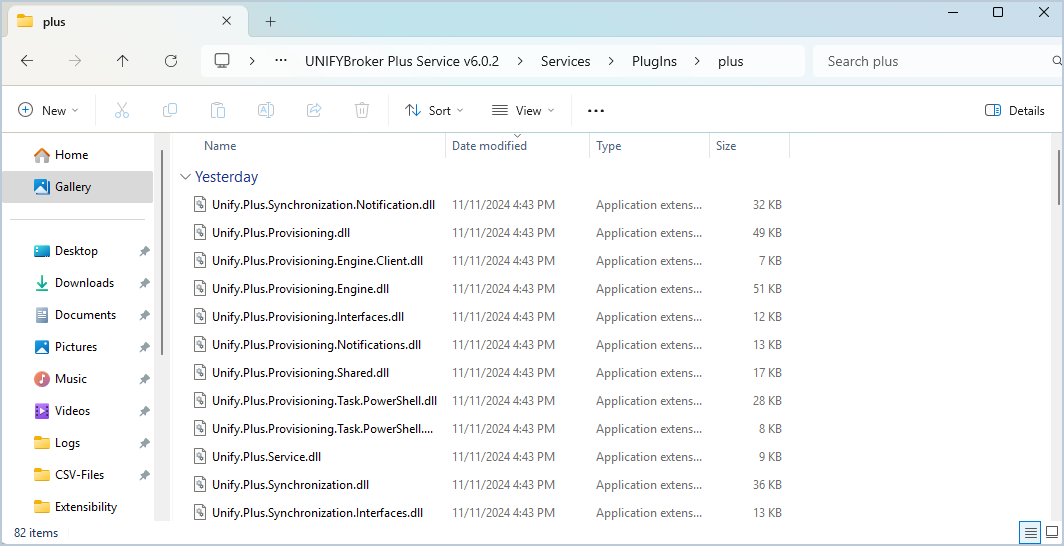
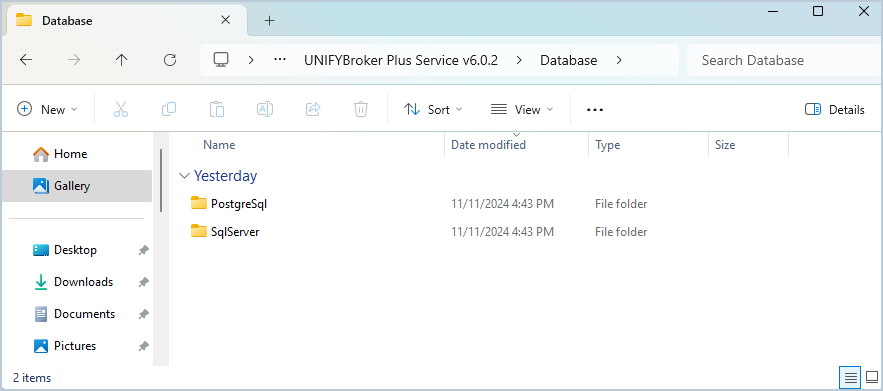
Update the database: Run the appropriate script for your database from the package's
Databasedirectory.- To add Sync Module components to an existing UNIFYConnect database, run the appropriate installation script. See Creating the UNIFYConnect Database for general database-script instructions.
- To upgrade an older Sync Module database, run each applicable upgrade script in version order. For example,
Database/SqlServer/plus-upgrade-5-3-to-6-1.sqlandDatabase/PostgreSql/plus-upgrade-5-3-to-6-1.sqlupgrade their respective v5.3 schemas to v6.1.
Install the web component: Extract the contents of the
Webdirectory from the Plus web ZIP file into the UNIFYConnect web installation'sWebdirectory. This adds the Sync Module web files to the existingWeb\bindirectory.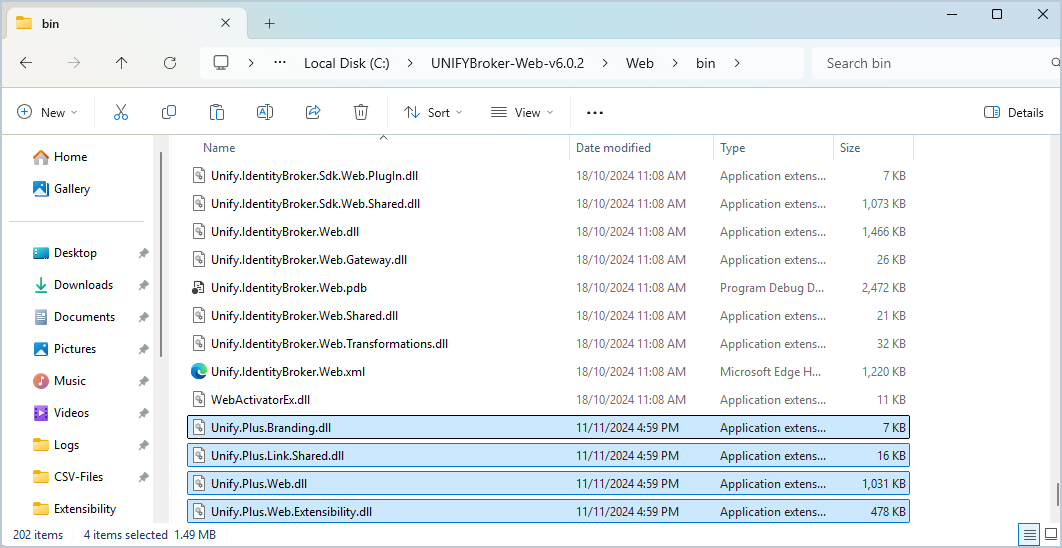
Verifying Installation
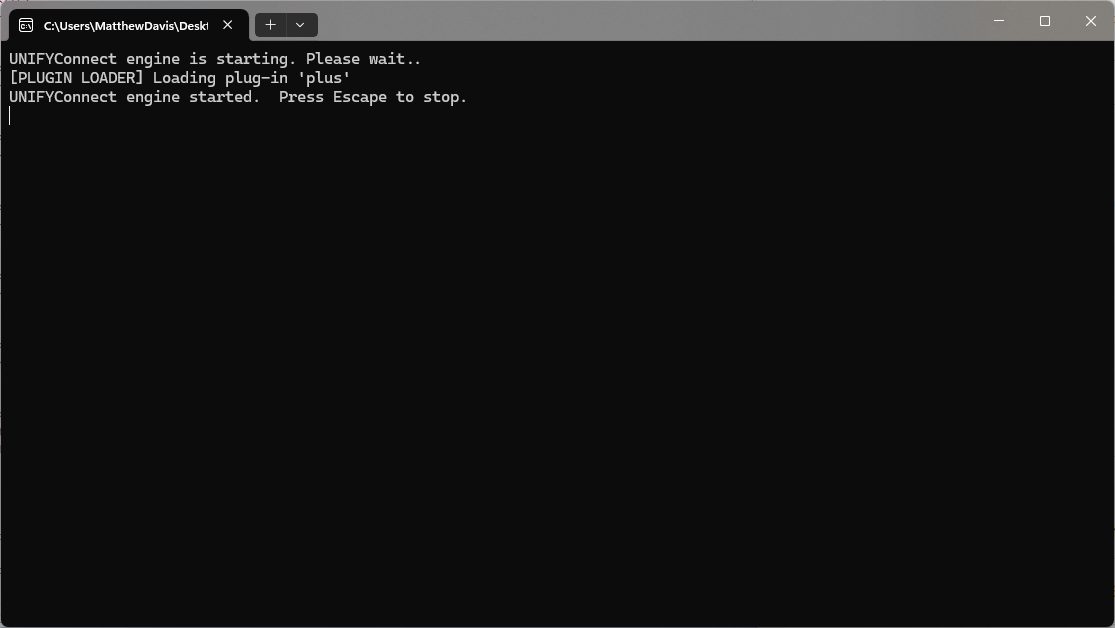
Start the UNIFYConnect service and check the console for a message confirming that the Plus plug-in loaded successfully. UNIFYConnect uses the internal name Plus for the Sync Module.
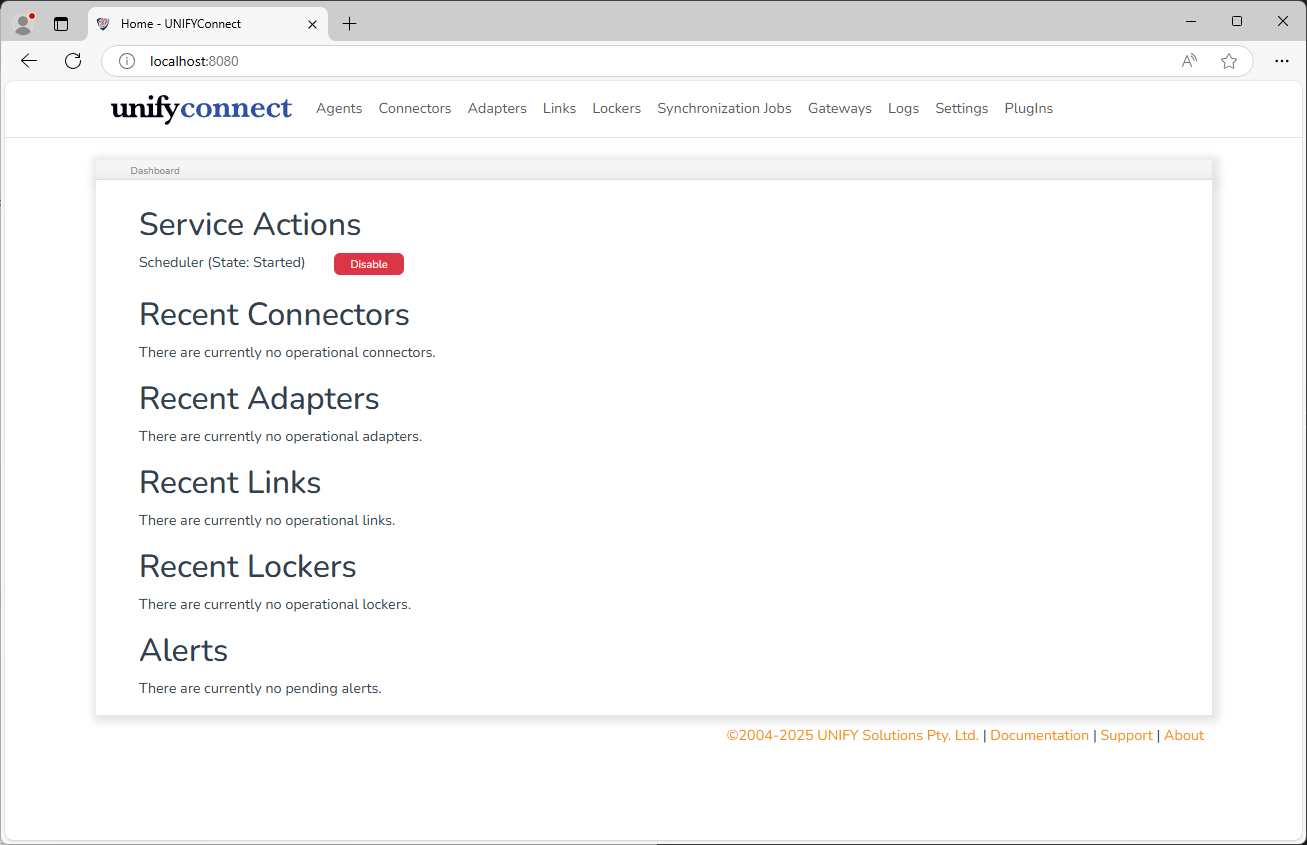
Open the UNIFYConnect web interface. A successful web installation adds Link and Locker menu items and Recent Links and Recent Lockers sections to the home page.
Identifying the UNIFYConnect Sync Module Version
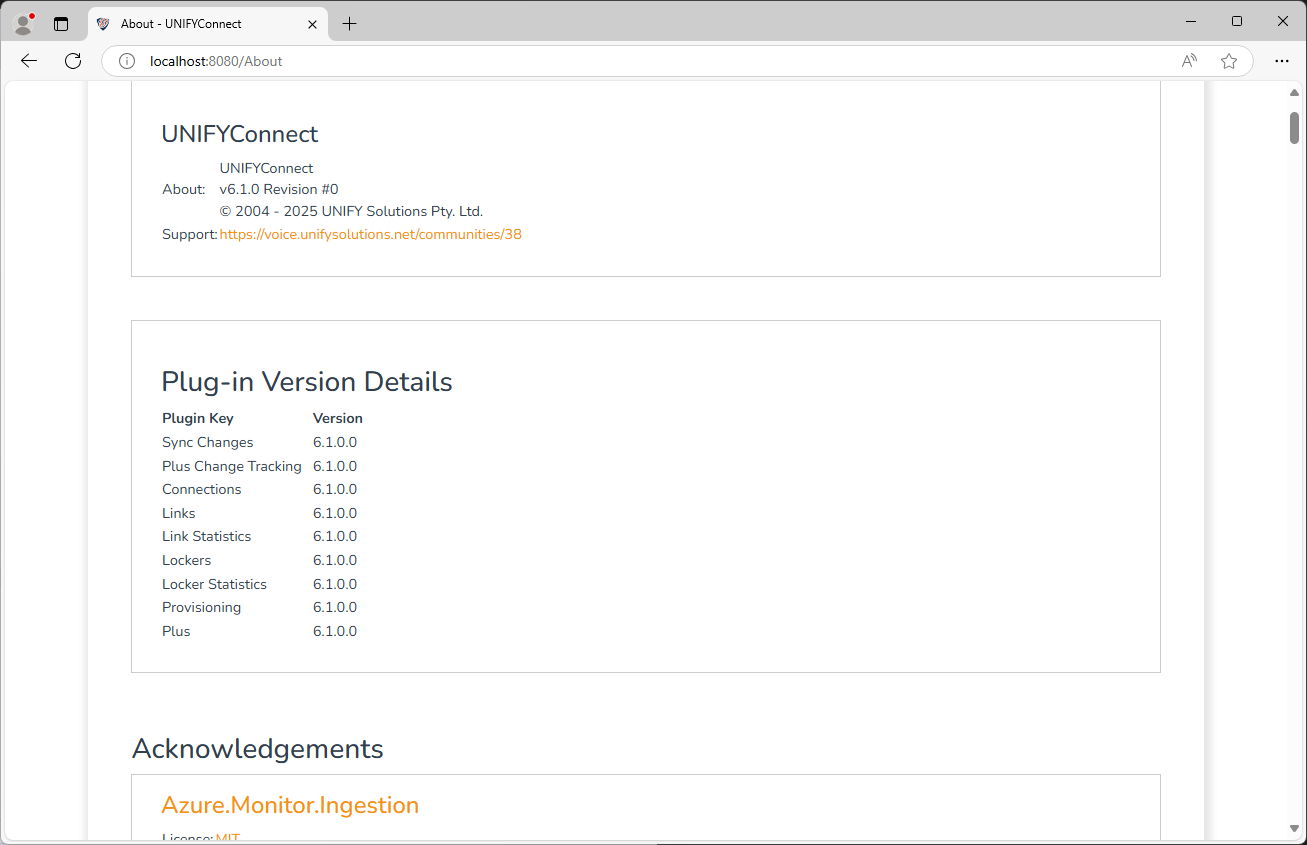
To confirm the UNIFYConnect Sync Module version, open the About tab and review the version numbers.
Installing Patches
Refer to the Plug-in Patches section of Installing Patches.