Installing UNIFYConnect Plugins
Overview
UNIFYConnect is built on the foundation that all components are "Plug-Ins", allowing extra functionality to be built and loaded into the application without the need for a core product version release. While plugins could be built for all components (such as adapter transformations, log writers, audit writers, gateways), the most common plugins we see are:
Connectors
Connectors are the components that allow transfer of data from UNIFYConnect to target applications. As these connectors are specific to the design of an installation, the administration of these components is covered in their own product guides. Connectors for UNIFYConnect written by UNIFY Solutions will be supplied with their own documentation.
The major and minor versions of a connector must match the major and minor versions of the UNIFYConnect instance it is being installed into. For example, a connector with version 6.1.x.x is compatible with any UNIFYConnect installation where the UNIFYConnect Service version starts with v6.1, however when UNIFYConnect is upgraded to v6.2, the connector must also be upgraded. Failing to align service and connector versions will most likely result in an inoperable service.
Given Agents are generally aligned for use with individual connectors, it's normal for the installation of a Connector Plug-In to also contain an Agent Plug-In.
Installing UNIFYConnect Connectors
- Download the required files of the connector to be installed.
- Stop the UNIFYConnect Service and Web component
- In the
PlugInsfolder located at%InstallDir%\Service\PlugIns, create a new folder named after the connector (e.g.,ExampleConnector). Place all service files into this newly created subdirectory. - Place the connector web files into
%InstallDir%\Web\bin - Start the UNIFYConnect Service and Web Component
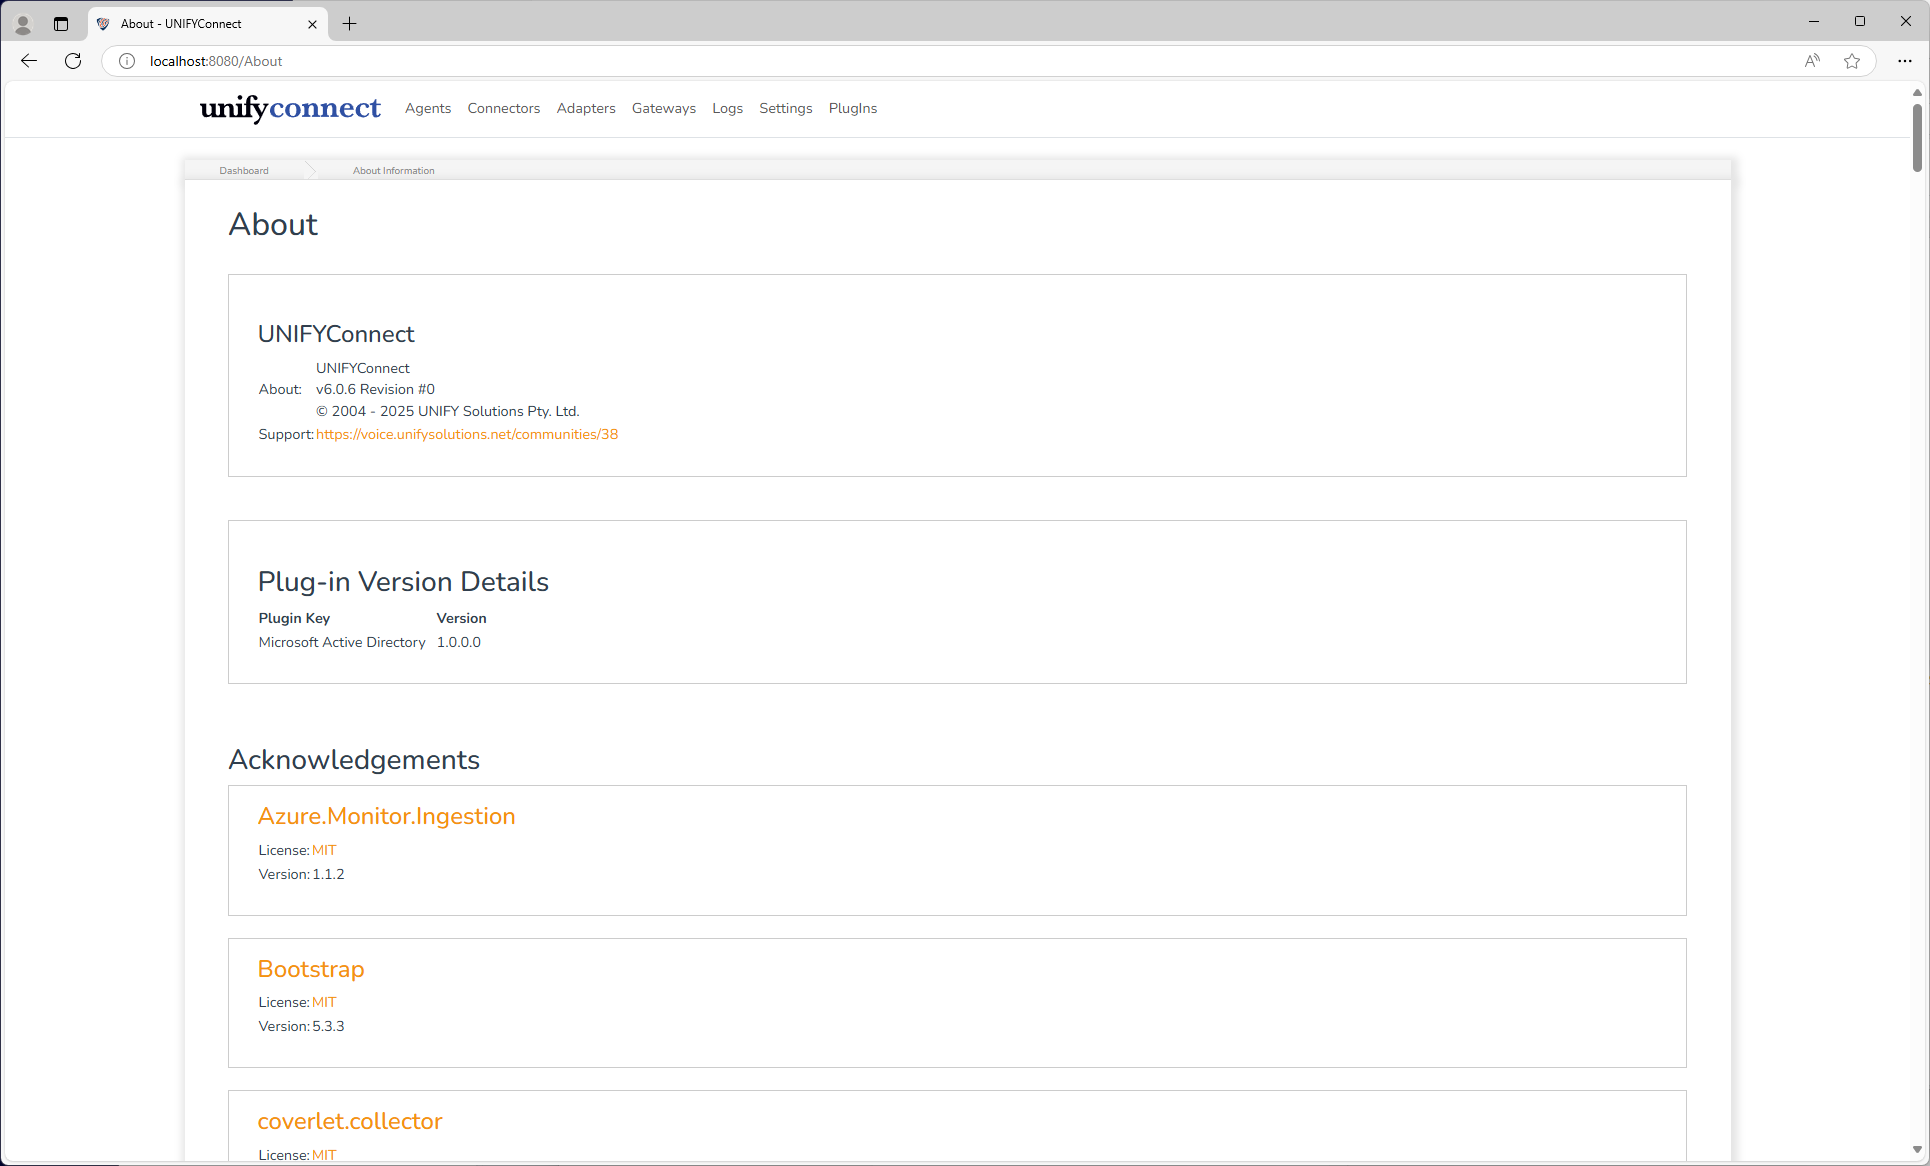
- Verify the installation is successful by finding its plugin entry on the About page of the UNIFYConnect website.
TIP
Connector plug-ins may be distributed as structured zip files containing the file structure described above. These are designed to be extracted directly into the UNIFYConnect installation directory. When taking this approach, verify that the plug-in files have all been placed in the correct locations following extraction, and ensure that the extraction process does not overwrite any unrelated file accidentally.
Installing Connector Patches
Refer to the Plug-in Patches section of Installing Patches.
Installing Other PlugIns
Installing and patching other plug-ins follows a similar process to installing connectors. Some plug-ins, such as the UNIFYConnect Sync Module may have their own installation requirements. In all cases, we recommend reviewing the plug-in documentation to ensure no extra steps need to be performed.